This guide will briefly explain the most important functions of the JIPipe user interface, so you can get started quickly. For a more in-depth look into the functions, please also read the other guides and follow our tutorials.
“Getting started” screen
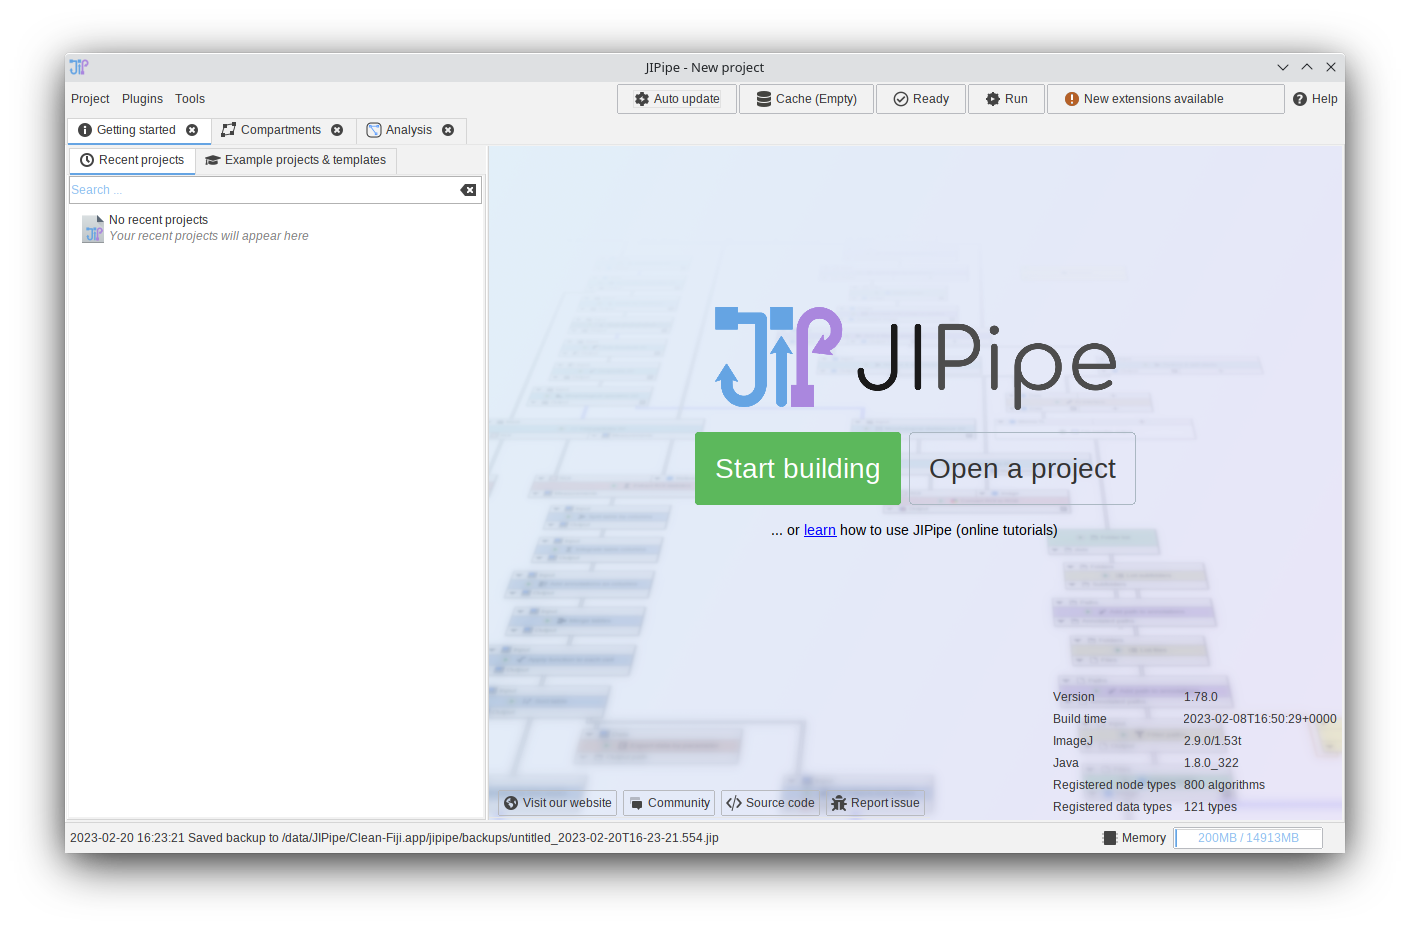
The “Getting started” interface is shown when JIPipe is started. It allows you to switch the the pipeline editor to begin the process of building a pipeline, open recent projects if available, or start a new project based on a pre-made template.
Pipeline editor
The pipeline editor is the main interface of JIPipe and allows you to create, edit, and run workflows. Usually it is located within a tab “Analysis” and is split into three different areas:
- The pipeline (or graph)
- The settings panel
- The menu bar
Compartment editor
So far the pipeline editor is located within the “Analysis” tab, which is the default configuration of new JIPipe projects. But JIPipe also allows the creation of multiple independent pipelines within the same project that can be connected to each other if required.
Imagine a pipeline as city containing various functional buildings (nodes). Multiple pipelines/cities then can be connected via streets if required.
The creation and connection of new pipelines is handled by the Compartments tab that functions similar to a map where the cities are located.
The compartment editor works similar to the pipeline editor and thus has a very similar basic structure:
- The compartment pipeline (all pipelines and how they are connected to each other)
- The settings panel
- The menu bar