Node templates
The node templates feature allows you to build a collection of custom nodes or pipelines that can be easily shared with other people.
The default location of the Templates panel is at the bottom left of the window.
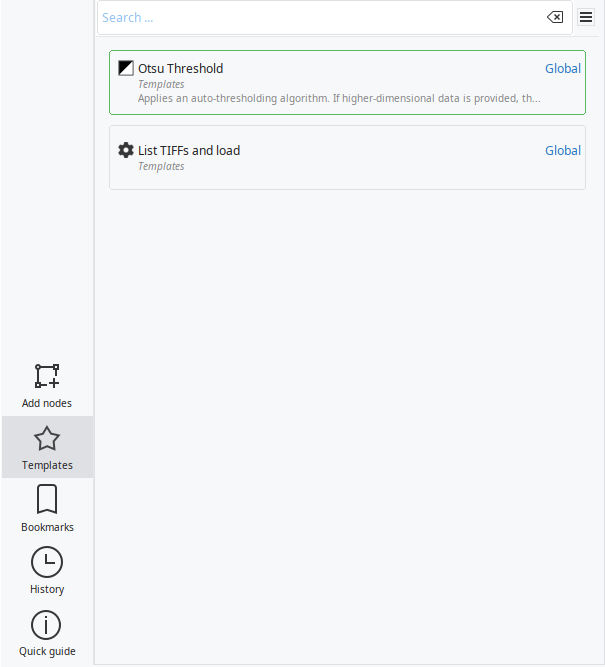
Creating templates
You can create a template from any selection of nodes (single or multiple). If you have multiple nodes, the template will remember the connections between them.
Select the nodes that should be converted into a template
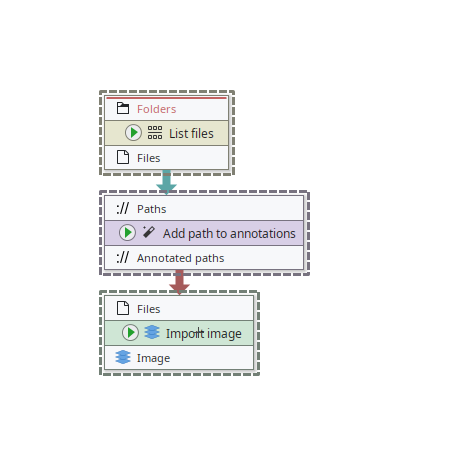
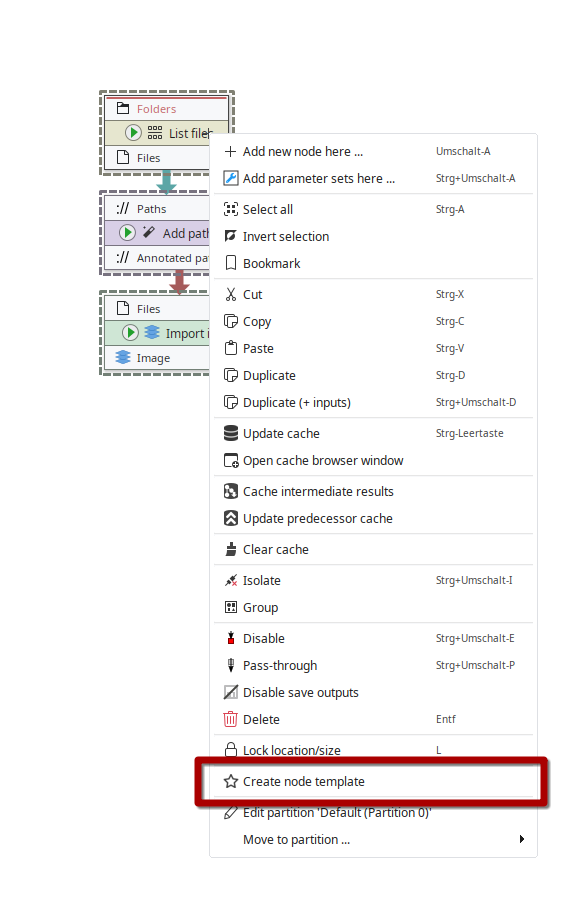
Right-click a node and select the Create node template operation. Alternatively, you can also find the
 button in the editing toolbar.
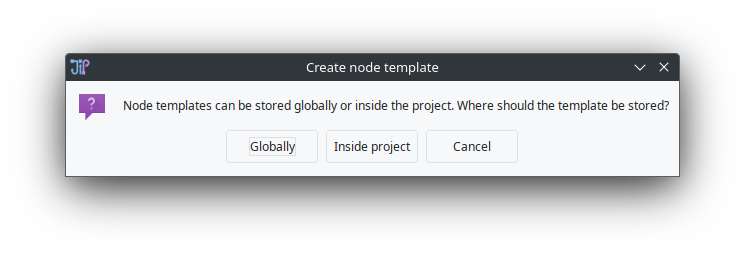
You will be asked where the template should be stored. Choose Globally if you want to re-use the template in other projects or Inside project if the template should be only available within the project, for example for students.
A dialog will appear where you can customize the template. Here you can also set the name.
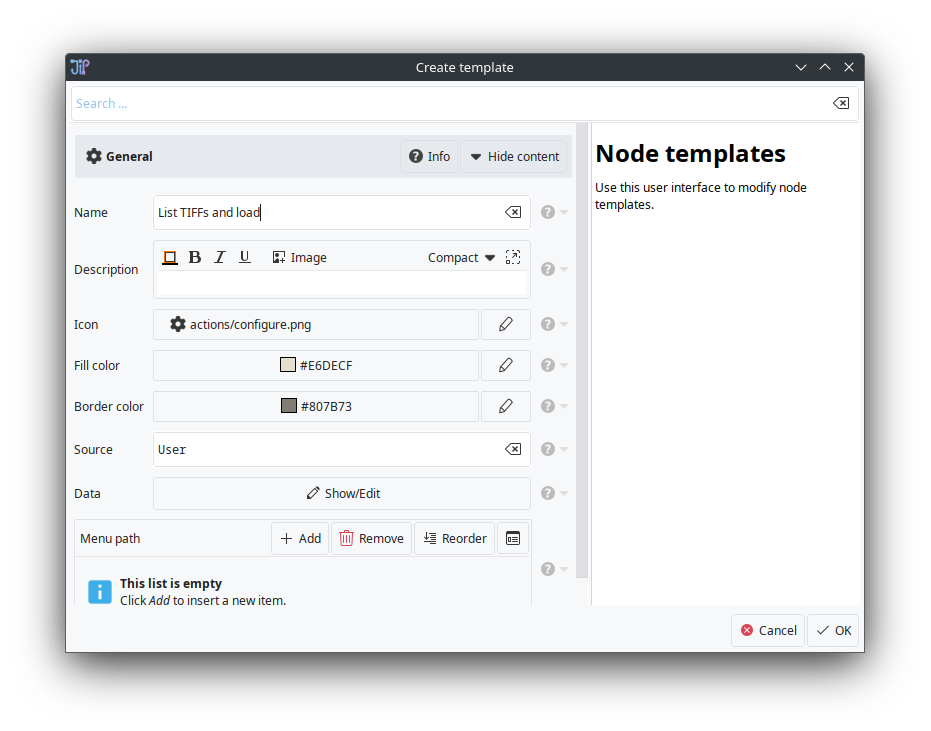
Click OK and the node template will be created.
Using node templates
You can instantiate node templates by either dragging them into the pipeline, or by double-clicking them. Additionally, there is an Insert operation when right-clicking a template.
Exporting/importing templates
To export templates, select them in the list, right-click them and select the Export option. The saved file in text JSON format can be shared with other people.
To import templates, right-click the node template panel and select Import from file. After confirming where the templates should be stored, they will be imported into the project/your JIPipe profile.
Copy templates between project/global storage
If you want to copy a template into another storage, right-click the template(s) and either select Copy to project or Copy to global storage.