Creating an extension
1. Existing pipeline
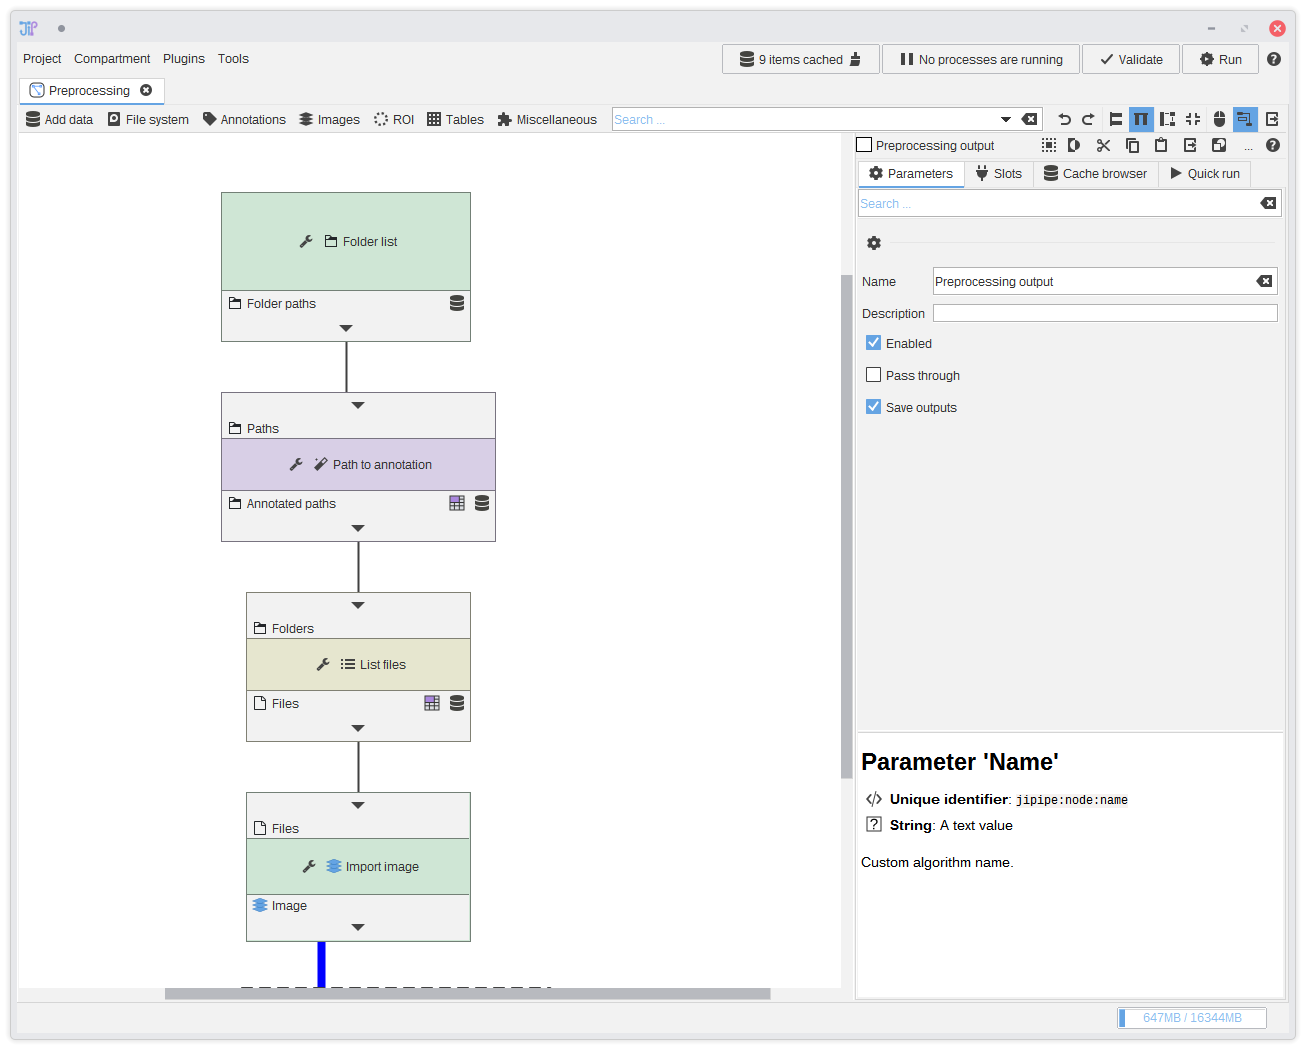
In this tutorial, we will create a custom algorithm extension based on parts of the pipeline created in the other tutorial. Please open the project file for the pipeline and navigate to thePreprocessing tab.
2. Selecting the algorithms
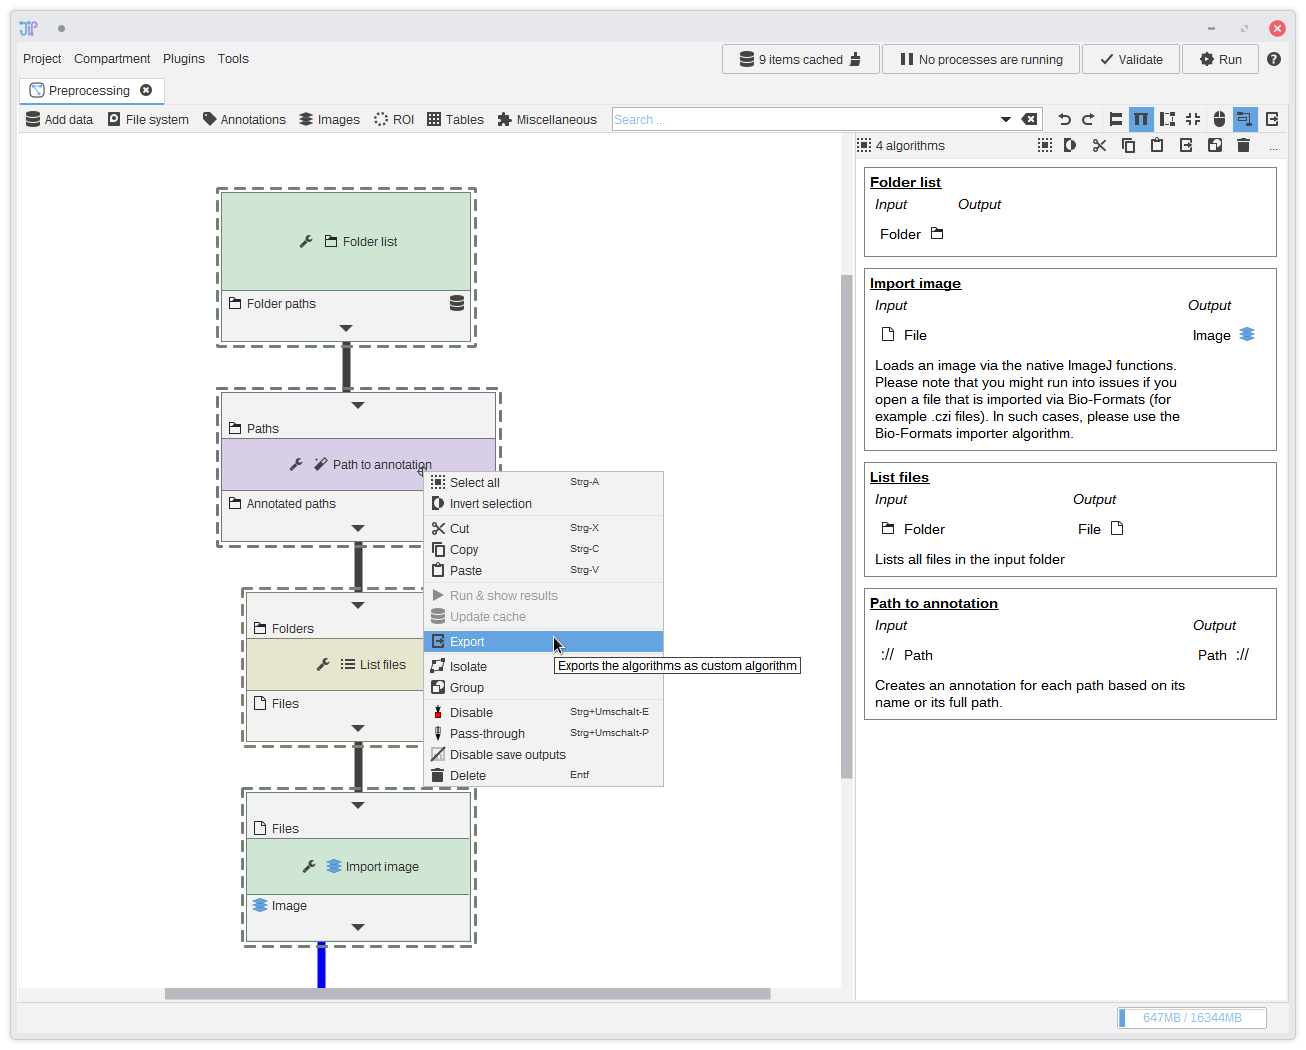
Please select the following algorithms (you can either do this by holding theShift keyboard button and clicking the nodes or dragging a selection around the nodes):
- Folder list
- Path to annotation
- List files
- Import image
Selecting one or multiple algorithms is only one way to create a custom algorithm. You can also export a whole project compartment (via the Compartments tab) or
the whole pipeline (via Project > Export as custom algorithm)
3. Preview
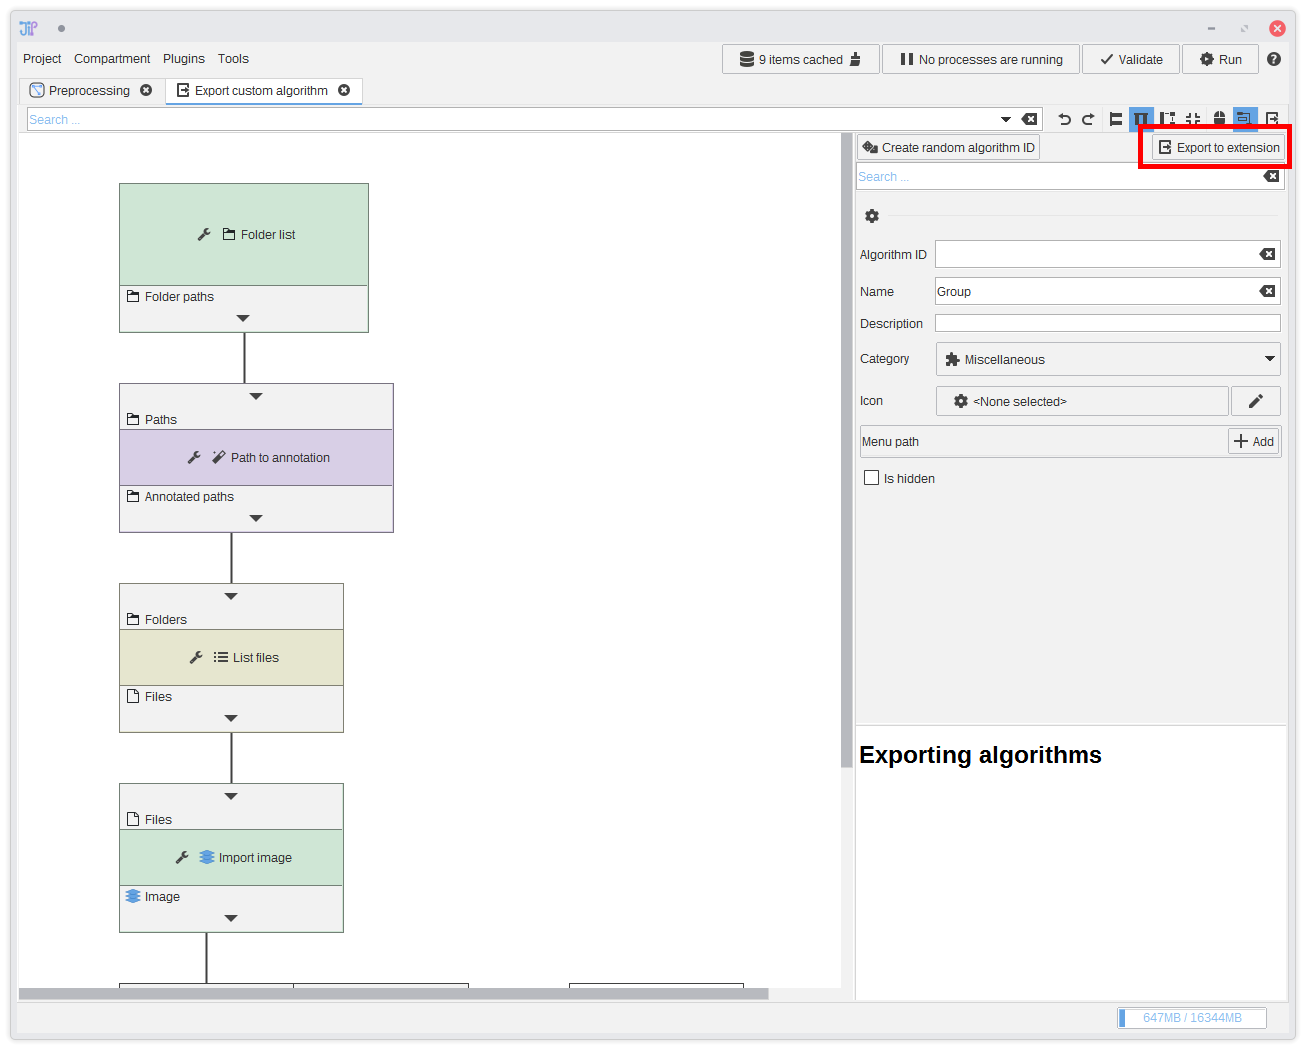
This will open a new tab where you can see a preview of the pipeline that will be exported. You see that the connections between the selected algorithms were kept, while two additional nodes were added:- Group input
- Group output
Now click
Export to extension and then New extension.
You can always modify custom algorithms within the extension builder. This will be shown in a later step.
4. Extension builder
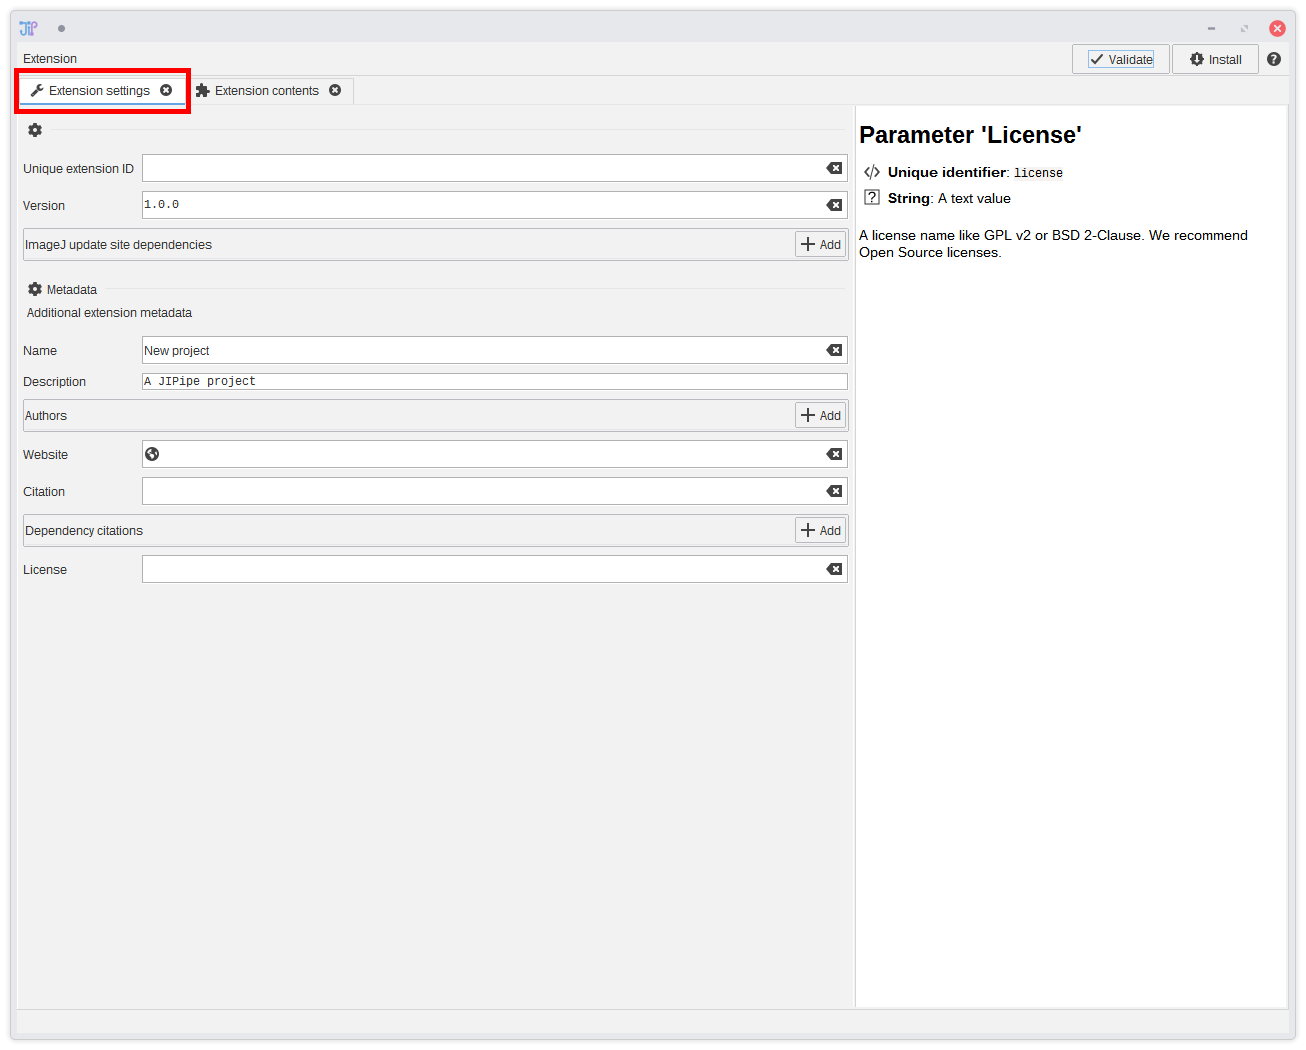
This will open the JIPipe extension builder tool that allows you to package one or multiple custom algorithms into an extension. Such extensions can be just put into the ImageJ plugin directory and will be automatically picked up by JIPipe just like any ImageJ plugin.An extension has a set of metadata that you need to set up. To do this, switch to
Extension settings.
You can always find the extension builder in Plugins > New JSON extension ...
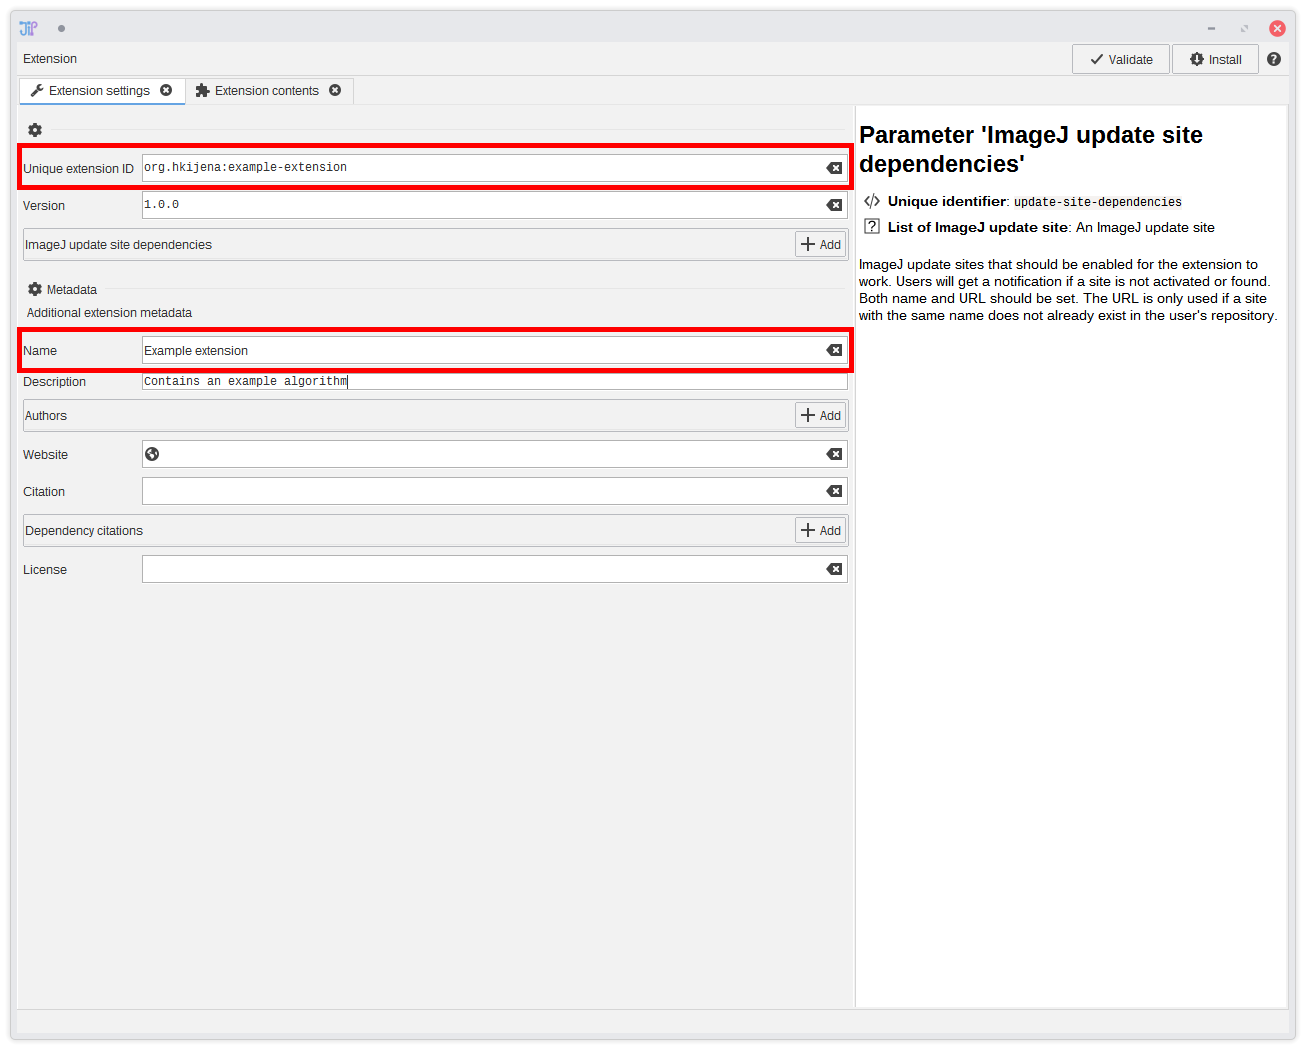
5. Extension metadata
JIPipe utilizes a unique extension ID to identify an extension. This is the most important setting and should be chosen carefully. The format must follow a specific structure:[Author]:[Extension], where [Author] provides information about the extension author, and [Extension] contains some identifier. We recommend to let the [Author] information follow the Maven naming conventions.All the other metadata can be freely chosen or left out (with the exception of the name). Use the other metadata to add authors (including affiliations), a website, define a license, and cite work your pipeline is depending on.
Finally, you can review or modify the extension contents by going to
Extension contents.
Any dependency to other JIPipe extensions are automatically stored within any project or extension file. JIPipe uses this information to figure out a valid load order.
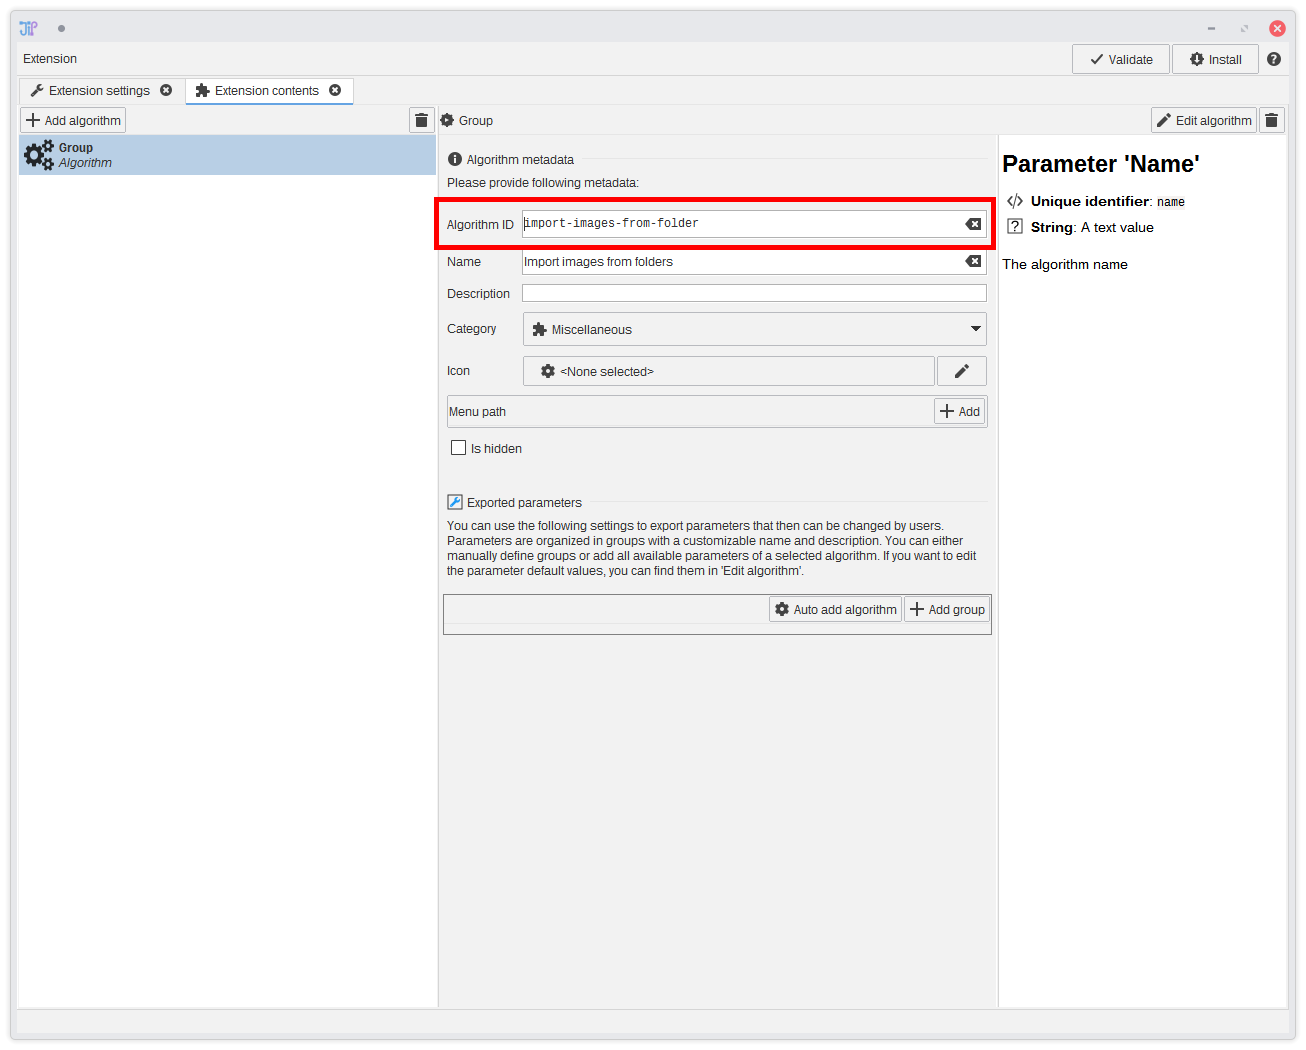
6. Extension content
Our custom algorithm is already included in the list of extension contents (left-hand side). You only need to provide metadata. The most important setting is the unique algorithm ID that is used by JIPipe to identify your algorithm. Please choose a meaningful string that avoids having duplicate identifiers. Then you can provide a name, category, icon and menu location.The extension builder will warn you if an algorithm ID already exists (we will show this function later). You can choose to ignore this if a duplicate ID is intentional - this will override an algorithm and replace it by the new one.
Algorithm IDs are not namespaced, meaning that they are independent of the extension ID.

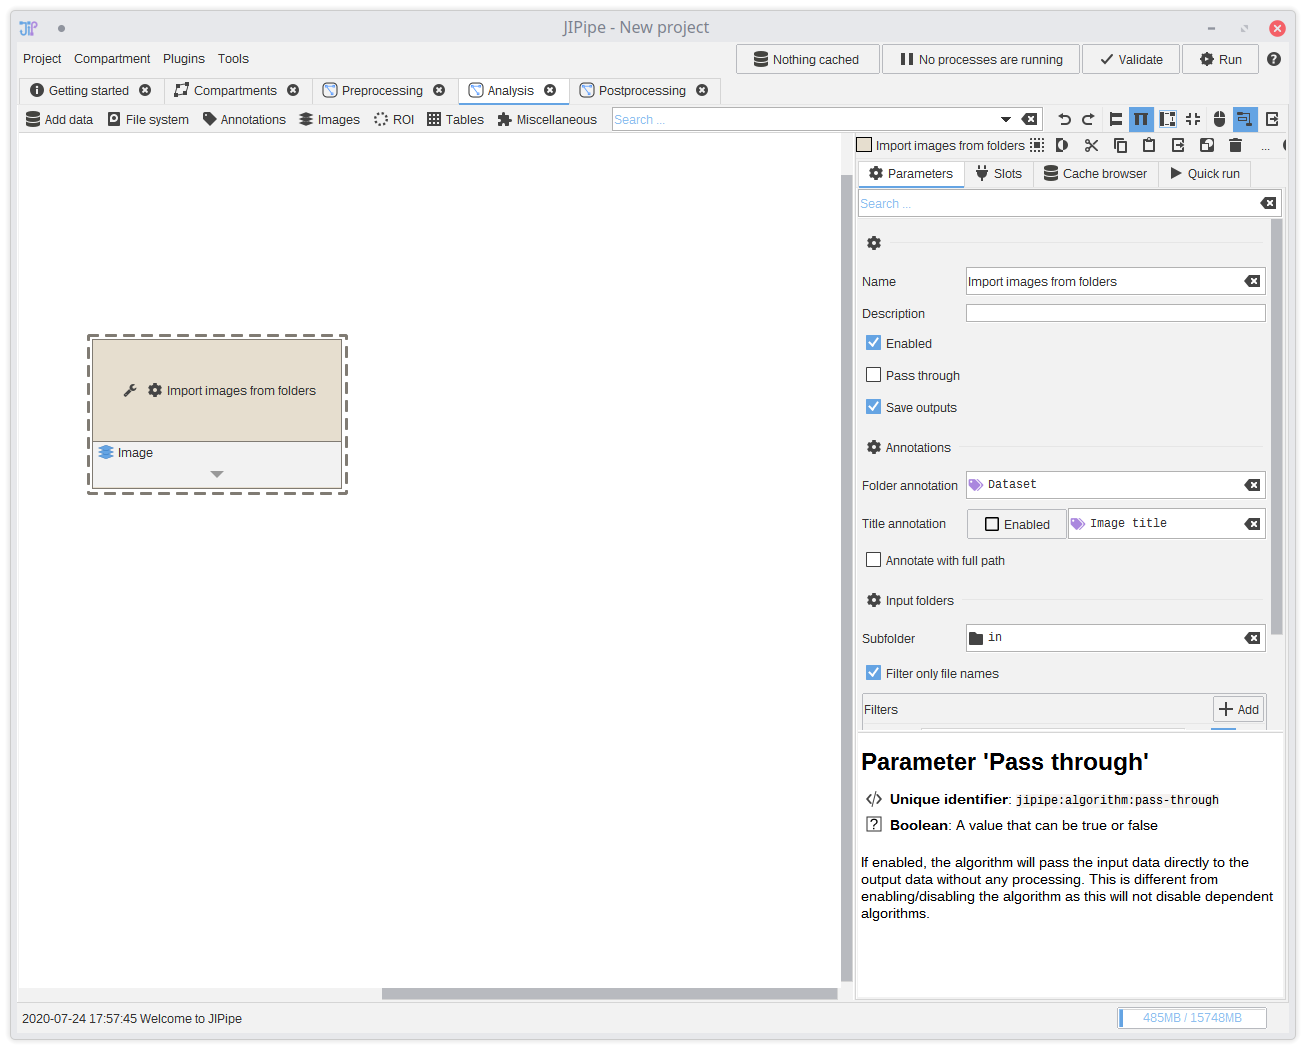
7. Parameters
By default, your algorithm does not come with parameters aside of the few default parameters (name, description, pass-through, enable). For your pipelines it can be useful to let users change some parameters. TheExported parameters section gives you full control on which parameters can be changed and how they are organized.First, you need to create a group by clicking the Add group button. This will create a new section in the final parameter UI. Then you can reference parameters by clicking Add parameter. You can customize the name and descriptions of any item.
It is always a good idea to check the parameters or maybe apply some corrections to the algorithm. To do this, click Edit graph
You can just add all parameters of a specific algorithm by clicking Auto add algorithm. Just check if users can properly decipher the function of each parameter.
Hover over the blue wrench icon to display information about the referenced parameter.
Each parameter can only be referenced once. You will get a warning if you have duplicate references.
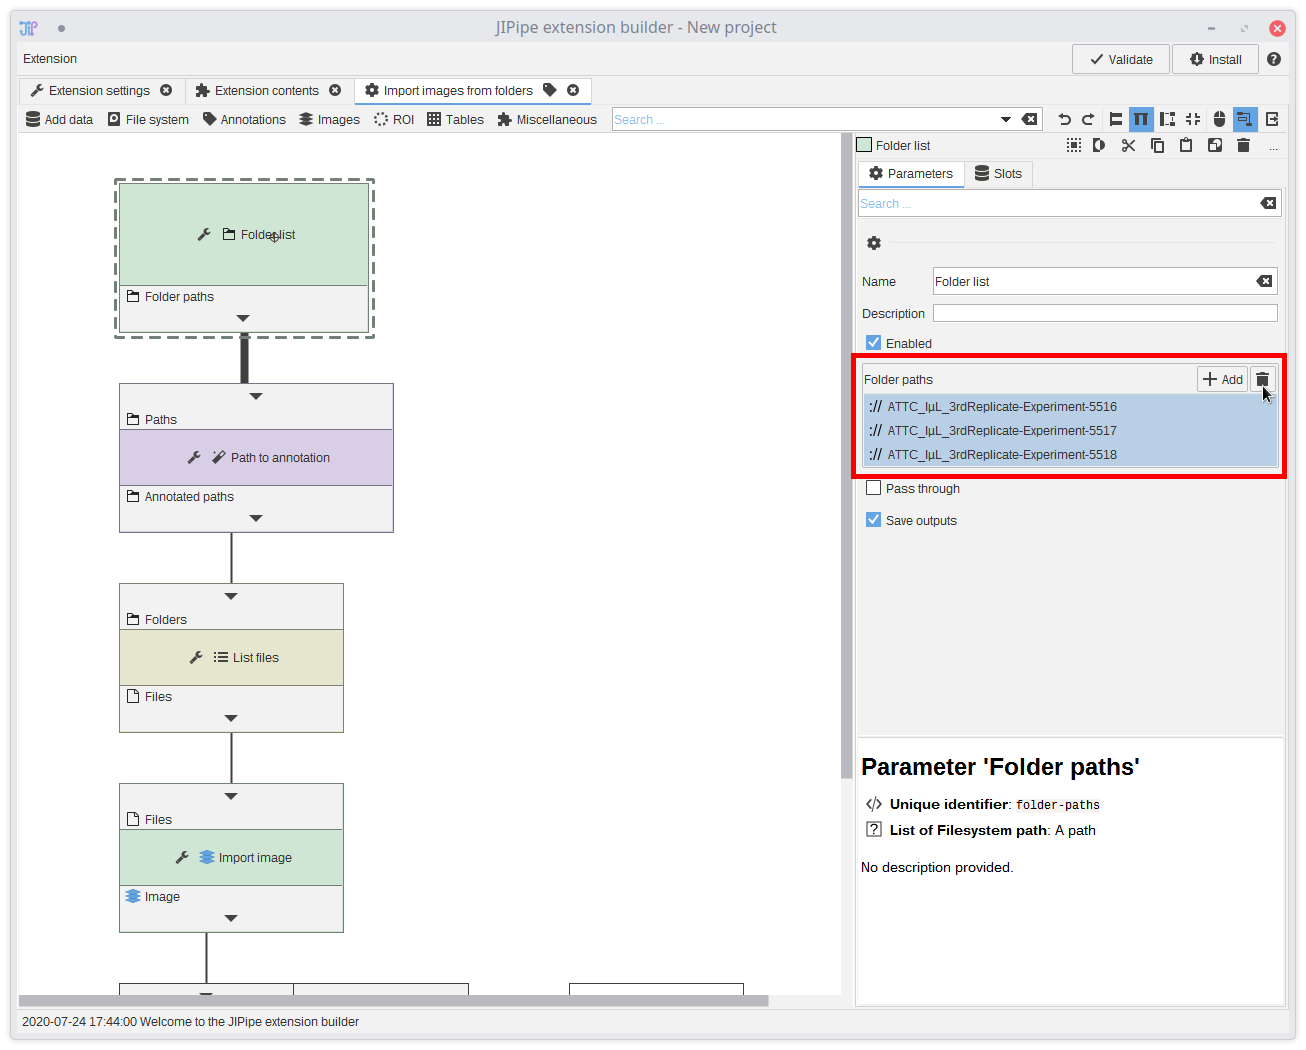
8. Modifying the algorithm
The extension builder contains a fully function algorithm graph editor (aside of anything that runs the graph) that allows you to modify an algorithm or create one from scratch. Use the editor to check the parameters of your algorithm. For example, it is a good idea to remove the folders from theFolder list algorithm.
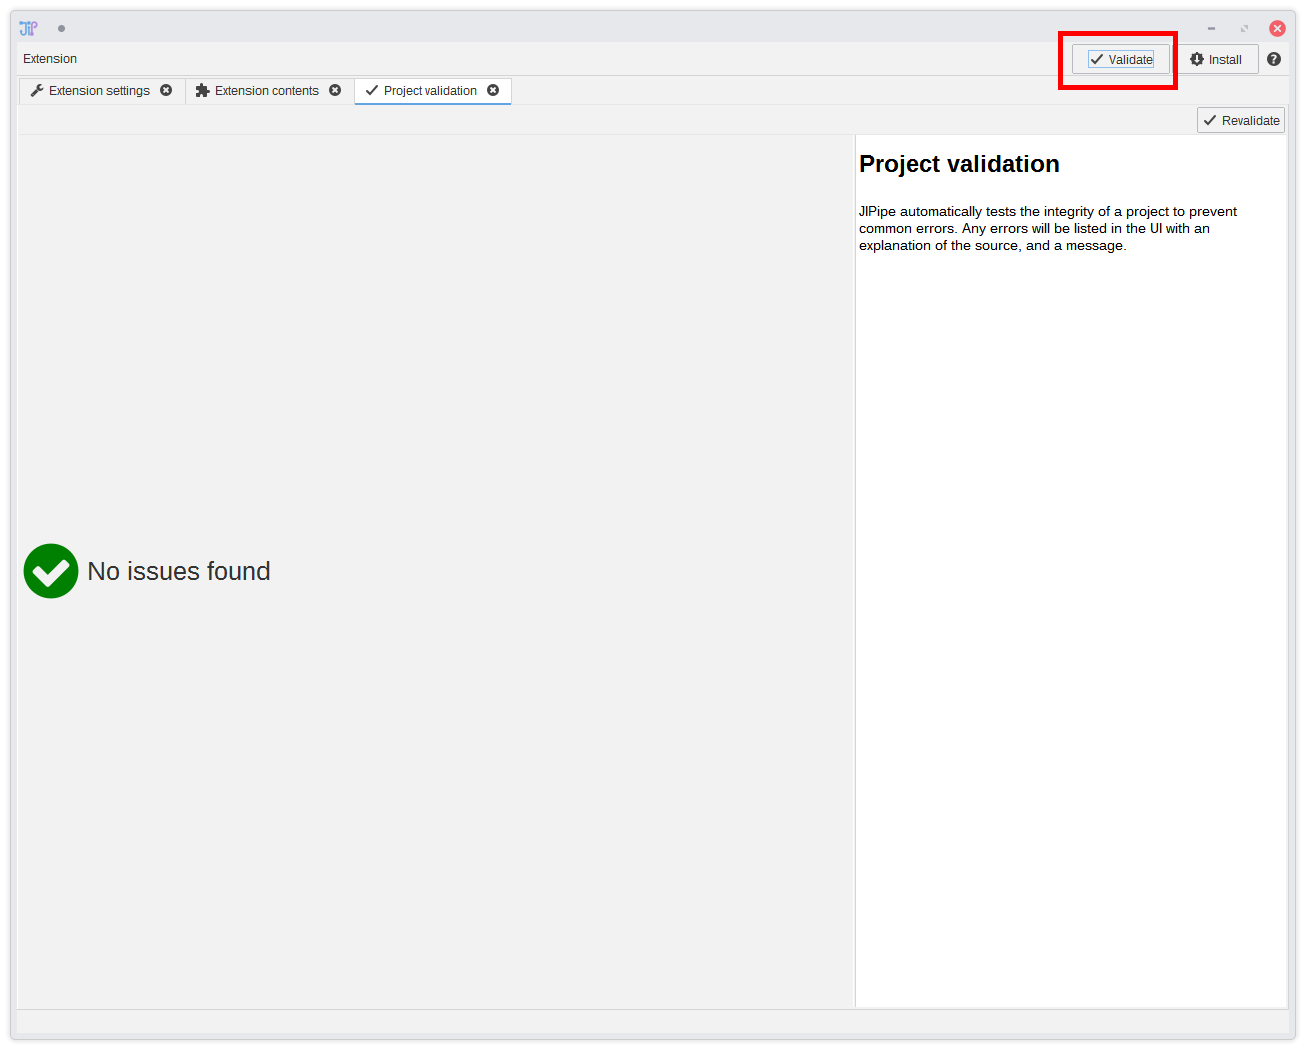
9. Validation and installation
Click the Validate button on the top right corner to check for any issues. This tool will also detect duplicate extension and algorithm IDs. Errors about duplicates can be ignored if they are intentional.Finally, you can install the extension by clicking Install. This will open a dialog to save the extension into the ImageJ plugin directory and attempt to load the extension.
We still recommend to restart ImageJ, especially if you are installing duplicate IDs.
10. Using the algorithm
You can find your algorithm in the menu, navigation bar, and algorithm finder just like any other algorithm. You can see that the parameters are included according to the settings within the extension builder.JSON Algorithms can be always converted into Group nodes that unlink the underlying pipeline from the JSON algorithm definition and allows users to modify them. Just select Convert to group to apply such conversions.
Group nodes are related to JSON algorithms. If you export a single group node, its contents are exported into an algorithm instead of the node itself.